
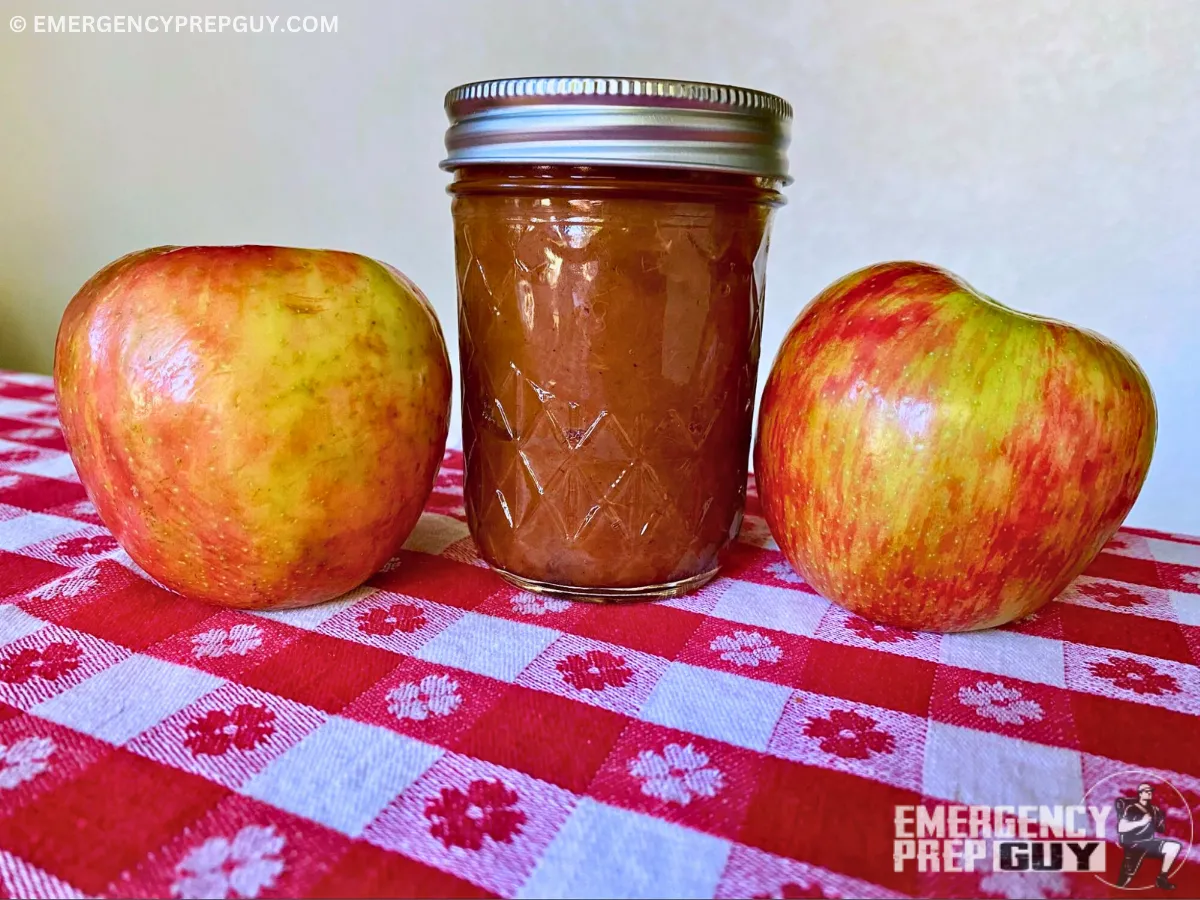
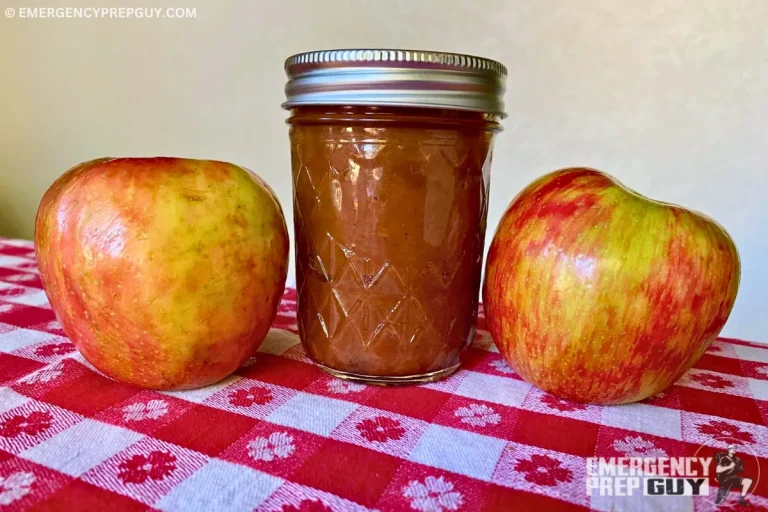
Canning apple butter is one of my very favorite projects.
A traditional recipe like this one makes a delicious product that my whole family loves on whole-wheat toast.
And it’s tangy enough that it holds up with cheese and crackers.
Apple butter needs to cook down, so set aside a few hours for this project.
The outcome is well worth your time!
How to Make & Can Apple Butter – Step-by-Step
This recipe has only one difficult step, which involves testing the product before you can it.
Here’s the good news: You can’t get it wrong!
Thinner butter works just as well as thick butter.
Here’s how to make it.
Equipment Needed
- Vegetable peeler
- Sharp knife
- Stainless steel saucepan
- Small saucepan
- Water canner with lid
- Eight half-pint jars with lids and rings (for a whole canner load)
- Food mill
- Jar lifter
- Lid lifter
- Canning funnel
- Ladle
Ingredients
- 6 pounds of apples
- 3 cups water
- 5 cups sugar (or to taste)
- 1½ teaspoon cinnamon
- ½ teaspoon ground clove
Prep Time
15 minutes
Cook Time
60 minutes
Canning Time
10 minutes
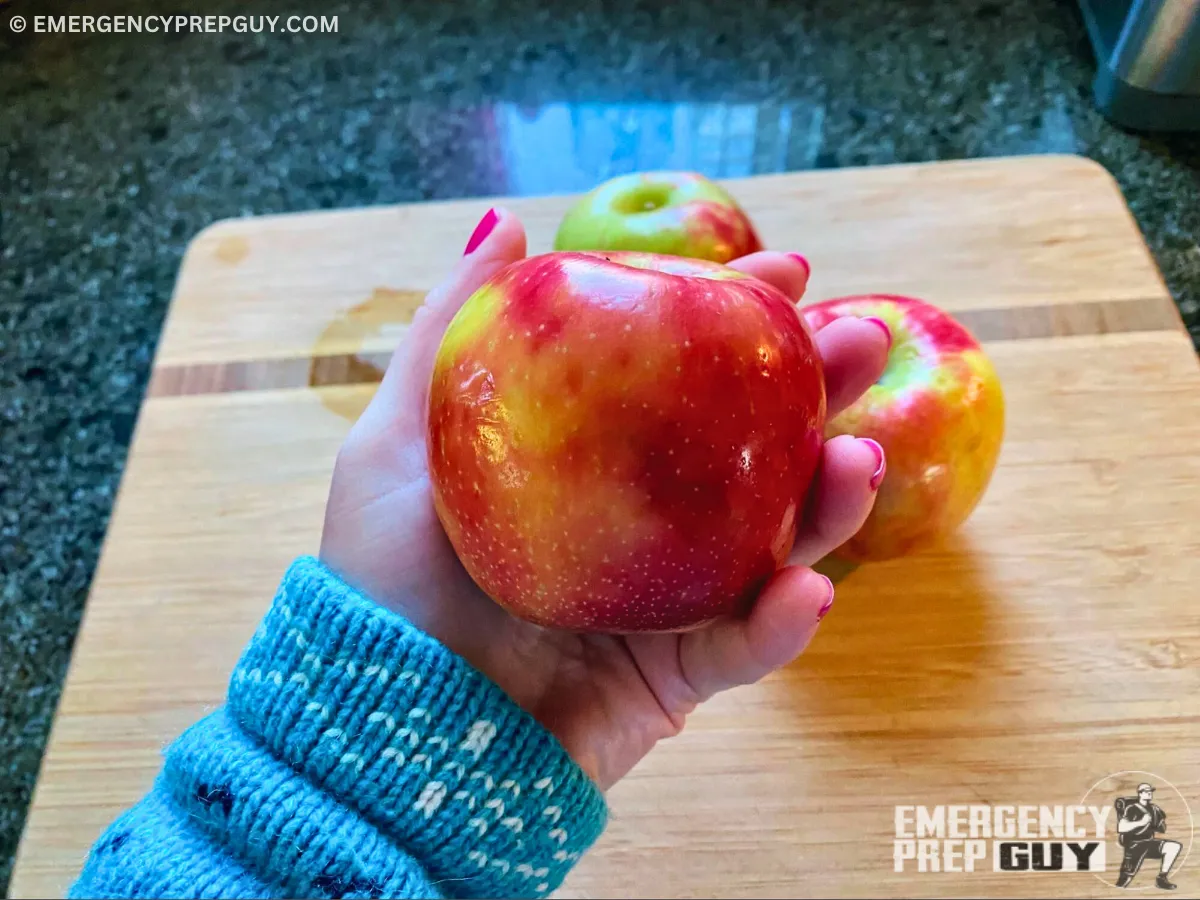
Step 1: Choose Your Apples
This recipe is designed for very sweet apples, such as Honeycrisp, Gala, Red Delicious, and Fuji.
If you’re using a tart apple like Granny Smith, you’ll need to increase the sugar by about a cup (or to your taste).
Look for apples that are very ripe but remain firm. Avoid apples that are soft with bruises or grainy because they’ve sat on the shelf for too long.
Don’t be afraid to poke and sniff every apple in the store before you buy it.
If you’re lucky enough to have access to an orchard, pick the apples directly from the tree. Avoid anything that’s already on the ground.
Step 2: Wash Your Apples
You’ll peel apples for this recipe, but it’s always smart to wash your produce before you get started. I like to rinse my apples under warm water and rub dirt and debris away.
Some people use vegetable brushes for this step, but it’s a little risky.
The bristles on a standard brush can bruise and damage your fruit. I stick with using my fingers instead.
Step 3: Peel, Core, and Chop Your Apples
With your vegetable peeler, remove the peel from each apple. Then, with your sharp knife, remove the core from each apple and cut the meat into quarters.

Step 4: Cook Your Apples
Place your prepared apples in a stainless steel pan with 3 cups of water. Place the pan over medium-high heat and bring it to a boil.
The apples will be very solid at this point, but the water will heat rather quickly.
Once the liquid boils, reduce the heat to medium-low and allow the apples to simmer gently. Stir them occasionally as they cook and grow soft.
This will take about 30 minutes.
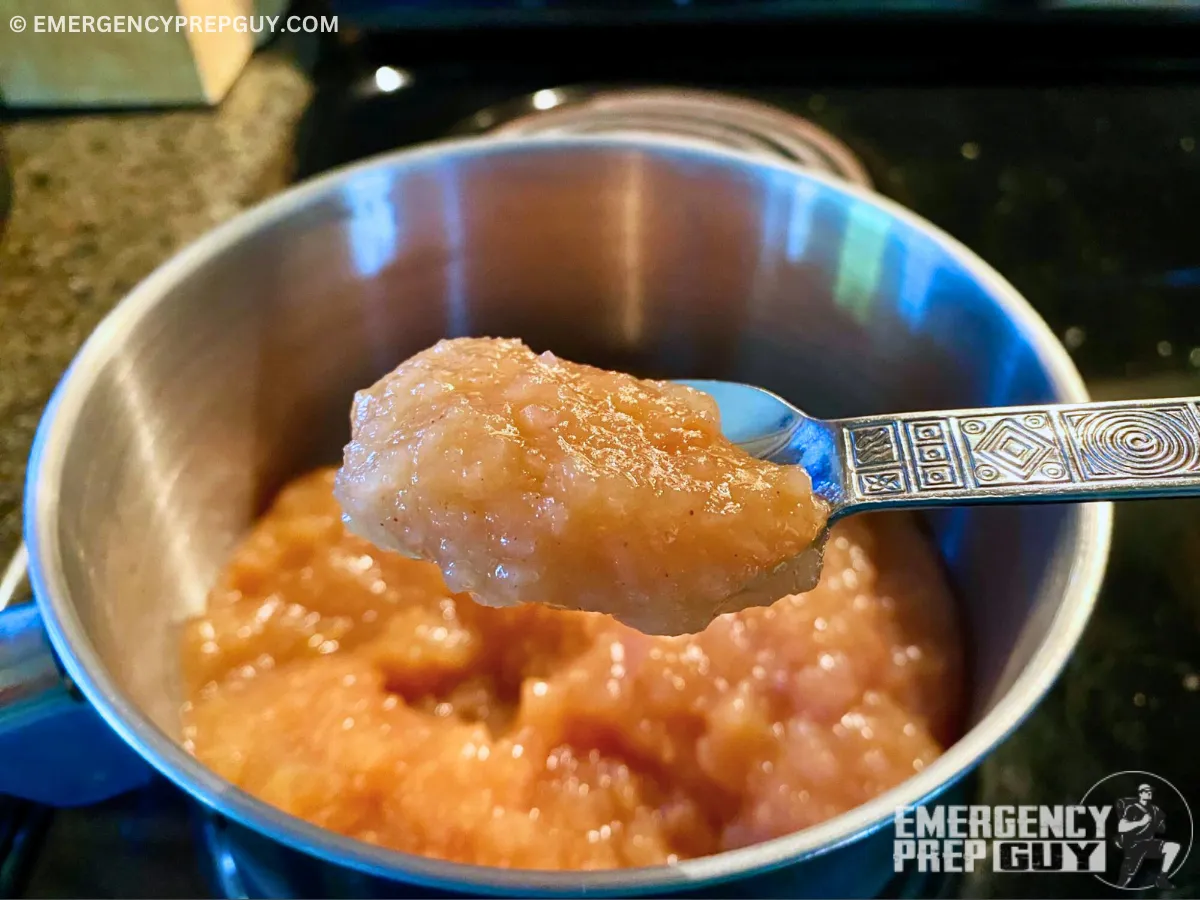
Step 5: Puree Your Apples
When your apples are ready for this step, they’ll be easy to pierce with something like a fork or a knife. However, it won’t look anything like jam or butter.
A food mill will help.
Working in batches, run your cooked apples through the food mill. Your goal isn’t to liquify the product.
Instead, you’re trying to make a product that looks a lot like applesauce.
Step 6: Spice and Sugar Your Apples
Place your prepared product back in the stainless steel pan. Add 1½ teaspoon of cinnamon and ½ teaspoon of ground cloves to your prepared product. Next, stir in 5 cups of granulated sugar.
Bring this mixture to a boil over medium-high heat while stirring frequently. The mixture can scorch if left alone on the heat for long periods, so ensure that you stay by the stove.
Step 7: Cook Your Butter
The product you’ve just made looks a lot like applesauce. As you cook it, the moisture will evaporate, and the product will solidify into something that looks a lot like a jam.
It will take about 30 minutes to reach this stage.
Step 8: Prepare Jars and Lids
While your apples are cooking, use your free time to prepare your jars and lids. You’ll need eight 8-ounce jars for a full batch of this recipe.
Start by washing your jars with hot water and soap. Place the clean jars in your canner and fill the pot with water.
Place the pot over medium-high heat and allow the jars to simmer while you work. This step ensures your jars are ready for your recipe.
Put your lids in a saucepan and cover them with water. Place the pan over low heat and allow the adhesive to soften.
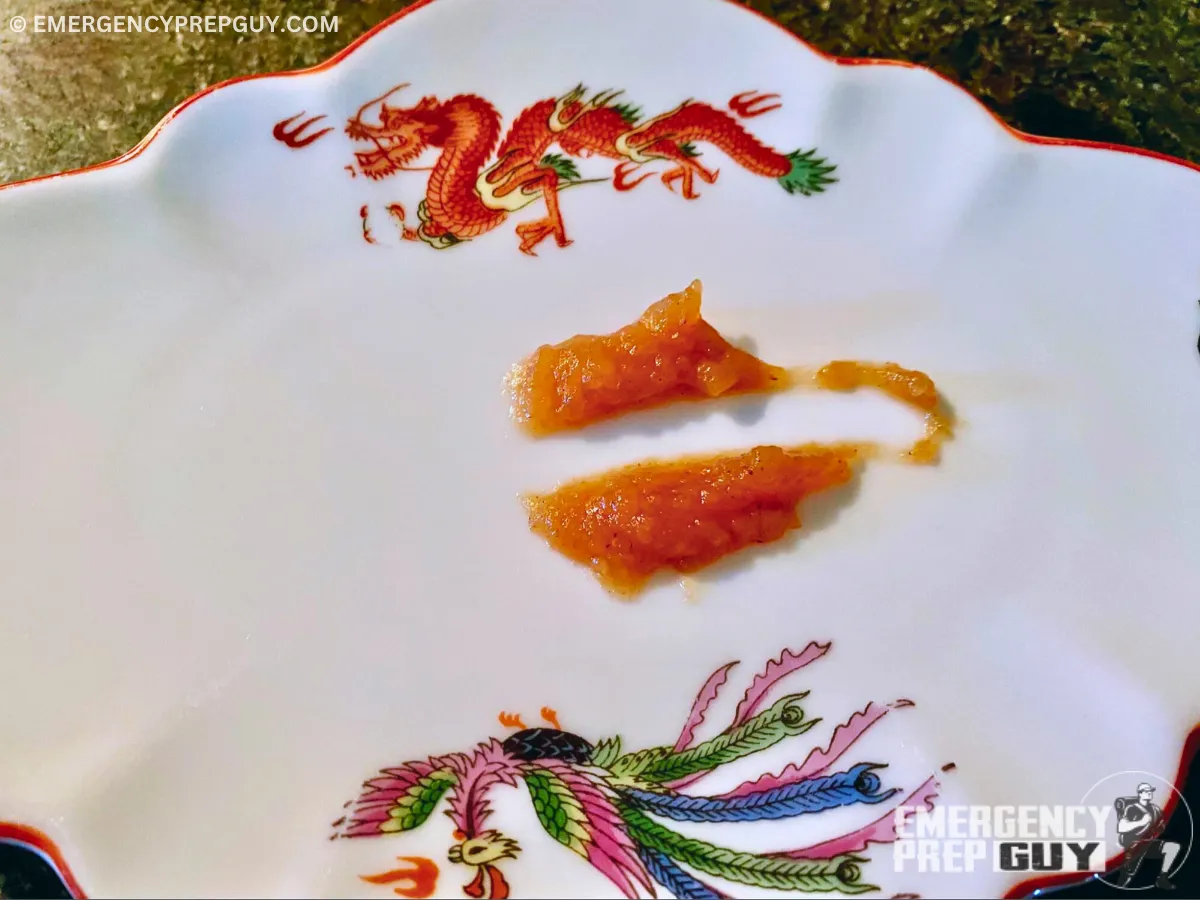
Step 9: Test Your Butter
To test the doneness of the product, scoop out a bit with a metal spoon. It should hold its shape as a little pile or mound in the center of the spoon.
Alternately, you can place a bit of apple butter on a cold plate and run your finger through the center. If the two sides don’t quickly reconnect, the butter is ready for the canner.
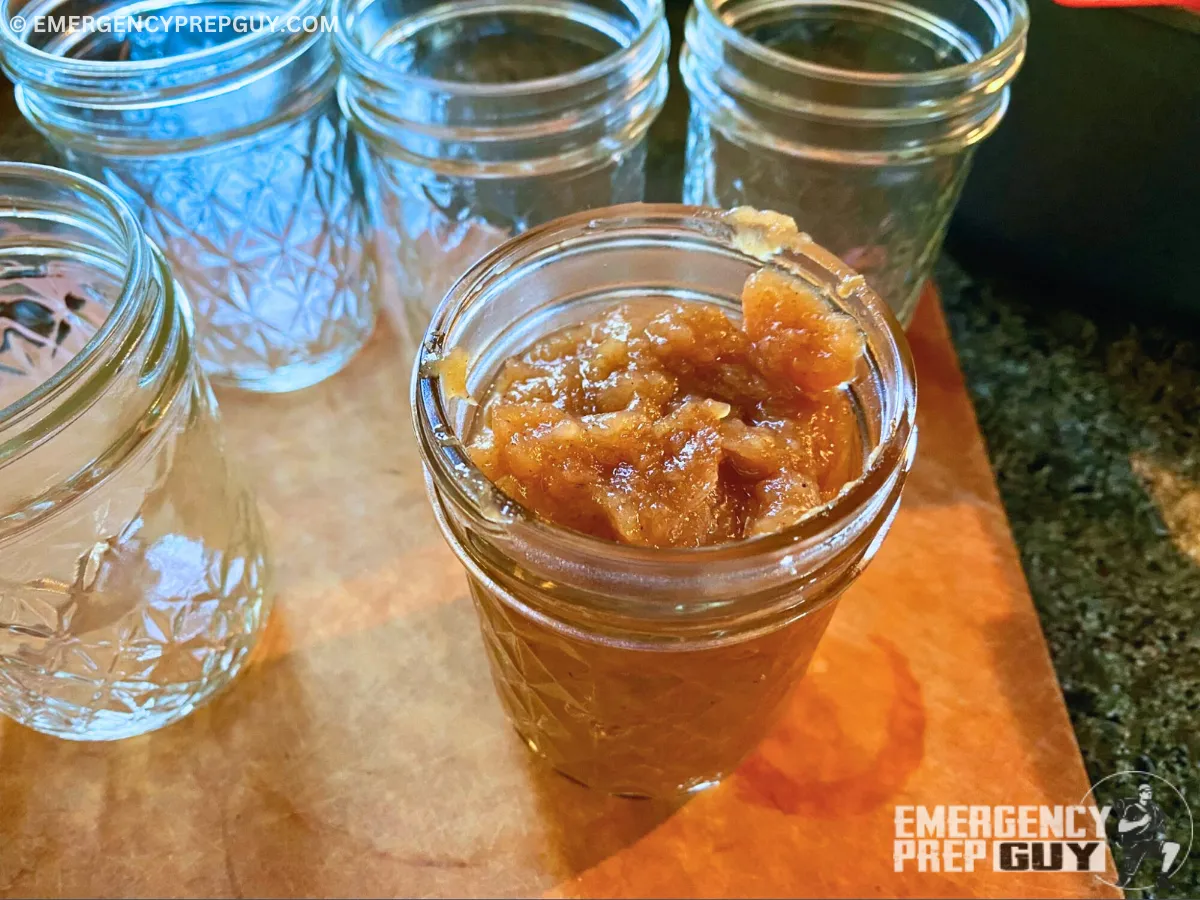
Step 10: Fill Your Jars
Remove your prepared jars from the canner and place them on a cutting board or towel. Place a canning funnel in the jars, and use your ladle to fill up the jars.
Leave at least ¼ inch of headspace at the top of the jars for the product to expand in the canner.
Apple butter can be thick and trap air around the sides. Run a knife around the edge to remove air bubbles.
Step 11: Apply Lids and Rings
Dampen a paper towel and run it across the top of each jar. Remove your lids from the saucepan and place one on each jar. Affix the lid with a ring screwed down finger-tight.
Pay special attention to this step. It’s one of the reasons canning products fail!
Don’t screw down your rings too tight or leave debris on the edges of the jars that can block the lids.
Step 12: Process Your Jars

Place your filled jars in the canner and ensure they’re covered with at least an inch of boiling water.
Put the lid on the canner and process your jars for 10 minutes. Adjust for your elevation as needed.
Step 13: Let Jars Rest
After processing time, turn off the heat and remove the lid from the canner. Leave the jars in place for 5 minutes to allow the contents to stabilize.
Using your jar lifter, remove your finished jars from the canner. Place them on a cutting board to rest completely undisturbed for 24 hours.
You may hear them pop and click as the lids seal.
How Long Does Canned Apple Butter Last?
The USDA says foods preserved in a water canner should be eaten within about a year. Your jars are considered properly preserved when the lids don’t snap or depress when you press on them.
I like to write the date on the top of all of my canning projects so I ensure I eat them before they’re considered expired.
Ideas for Using Apple Butter
Apple butter is a great addition to any pantry. Here are a few of my favorite ways to use it:
- Spread apple butter on toast or English muffins for a delicious breakfast.
- Serve apple butter with dinner rolls warm from the oven.
- Swap apple butter for jelly in your next PB&J.
- Top your bagel with cream cheese and apple butter.
- Top cottage cheese with apple butter.
- Add a tablespoon of apple butter to a hot bowl of oatmeal.
- Spread a thin layer of apple butter on pork chops or pork cutlets.
Equipment
Ingredients
- 6 pounds apples
- 3 cups water
- 5 cups sugar (to taste)
- 1½ teaspoons cinnamon
- ½ teaspoon ground clove
Instructions
Choose Your Apples
- Select very sweet apples like Honeycrisp, Gala, Red Delicious, or Fuji. Ensure they are very ripe but still firm. Avoid soft, bruised, or grainy apples. For tart apples like Granny Smith, increase sugar by about a cup.
Wash Your Apples
- Rinse apples under warm water with your fingers to remove dirt and debris. Avoid using vegetable brushes to prevent bruising.
Peel, Core, and Chop Your Apples
- Using a vegetable peeler, remove the peel from each apple. Remove the core with a sharp knife and cut the apple into quarters.
Cook Your Apples
- Place the chopped apples in a stainless steel pan with 3 cups of water. Bring to a boil over medium-high heat, then reduce to medium-low and simmer gently for about 30 minutes, stirring occasionally until apples are soft.
Puree Your Apples
- Use a food mill to puree the cooked apples until they resemble applesauce. Work in batches if necessary.
Spice and Sugar Your Apples
- Return the pureed apples to the saucepan. Add 1½ teaspoons cinnamon, ½ teaspoon ground clove, and 5 cups sugar. Stir well and bring to a boil over medium-high heat, stirring frequently to prevent scorching.
Cook Your Butter
- Simmer the mixture for about 30 minutes until it thickens to your desired consistency.
Prepare Jars and Lids
- Wash and inspect eight half-pint jars in hot, soapy water. Sterilize jars in the canner with boiling water. Warm lids in a small saucepan with water on low heat to soften the adhesive.
Test Your Butter
- Check the doneness by scooping a bit onto a cold spoon or plate. It should hold its shape and not run like water.
Fill Your Jars
- Using a canning funnel and ladle, fill each jar with the hot apple butter, leaving ¼ inch of headspace. Remove air bubbles by running a knife around the edges.
Apply Lids and Rings
- Wipe jar rims with a damp paper towel. Place warmed lids on jars and screw on rings until finger-tight.
Process Your Jars
- Place filled jars in the water bath canner, ensuring they are covered by at least 1 inch of boiling water. Bring to a boil and process for 10 minutes (adjust for elevation if necessary).
Let Jars Rest
- After processing, turn off the heat and let jars sit in the canner for 5 minutes. Remove jars with a jar lifter and place upright on a cooling surface to rest undisturbed for 24 hours.
Check Seals
- After 24 hours, press the center of each lid. If it doesn’t pop back, the jar is sealed. Label and store sealed jars in a cool, dark place. Unsealed jars should be refrigerated or frozen and consumed within a few days.
Notes
- Apple Selection: Use only very sweet apples for best results. Tart apples require additional sugar.
- Cooking Time: Allow sufficient time for apples to soften and for apple butter to thicken.
- Jar Preparation: Ensure jars are free from chips and cracks, and sterilize before use for safe canning.
- Storage: Properly canned apple butter can last up to a year. Always check seals and inspect for spoilage before use.


