My family loves to eat dessert.
The sweeter the treat, the better.
Now that I know about canning cherries, I can keep them happy all winter long.
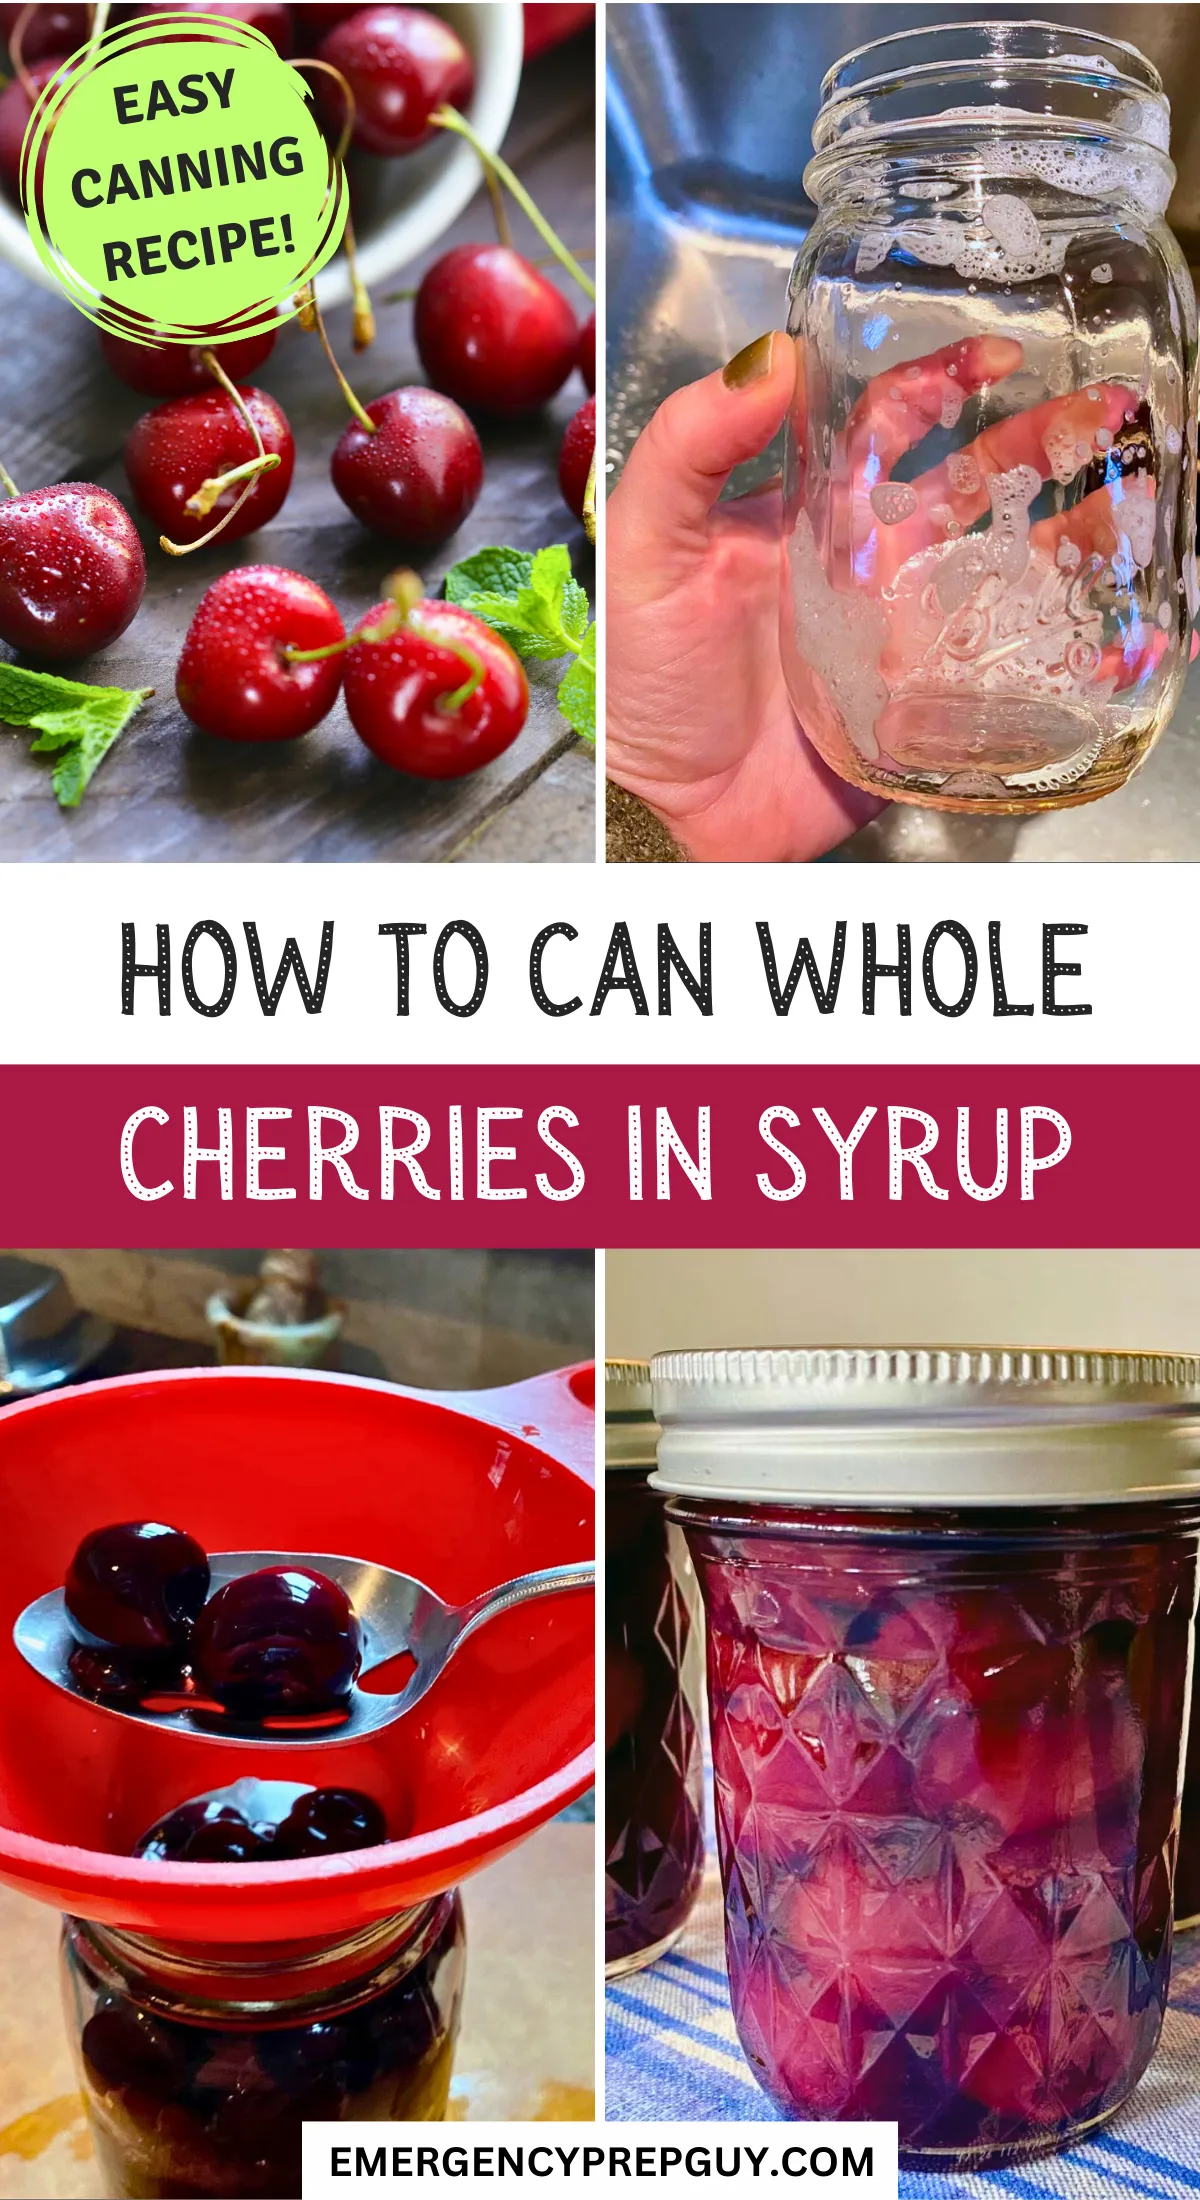
I like to can whole cherries in a medium sugar syrup.
This recipe produces a delicious and shelf-stable snack that’s the perfect accompaniment for cake, ice cream, and brownies.
You’ll love it!
Step-by-Step Guide to Canning Cherries in a Water Bath Canner
Cherries are really easy to preserve in a water bath canner. You can use either fresh or frozen fruit for this recipe.
Equipment Needed
- Colander
- Cherry pitter
- Stainless steel saucepan
- Small saucepan
- Water canner with lid
- Nine pint jars with lids and rings (for a whole canner load)
- Jar lifter
- Lid lifter
- Canning funnel
Ingredients
- 11 pounds whole cherries (for a whole canner load)
- 5½ cups water
- 2¼ cups sugar
Prep Time
About an hour (for fresh cherries)
About 24 hours (to defrost frozen cherries)
Cook Time
10 minutes
Canning Time
25 minutes
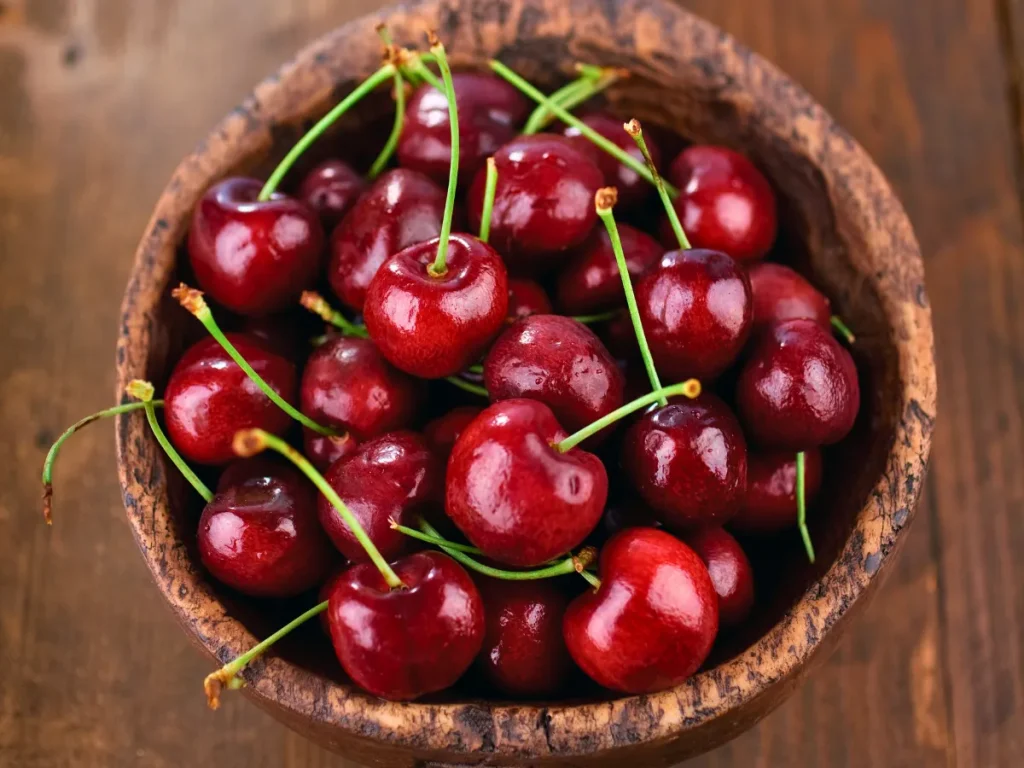
Step 1: Choose Your Cherries
This recipe is designed for a deep red cherry, such as Bing, Queen Anne, or Sweetheart.
Cherries like this are very sweet, and they’re lovely when paired with desserts.
They’re also very easy to find on farmstands or in grocery stores.
Avoid so-called sour cherries like Morello or Amarena. These types of cherries are best for pie fillings and sauces.
They’re much too tart to pop in a jar and enjoy with a dessert.
Step 2: Wash Your Cherries
I’m using a raw-pack method for this recipe. That means I’m not cooking or sterilizing my cherries before they go into the jars.
Clean fruit is really important in recipes like this.
I like to place my cherries in a colander and rinse them with warm water.
I lift them one at a time and ensure that each berry is clean and free of dirt and debris.
You should wash both raw and frozen cherries just to ensure they’re ready for this recipe.
Step 3: Prepare Jars and Lids
As your cherries drain in the colander, turn to the jars and lids you’ll be using for this recipe.
For a whole canner load, you’ll need nine pint jars.
I reuse canning jars often, and while I store them carefully, they can get chipped and cracked. I inspect all of my jars with my fingers and my eyes.
Anything chipped could be used for something else (like storing dried beans or rice).

Wash all of your approved jars in hot water and soap. Then, put your jars in the canner and fill it with water.
Put the lid on the canner and place it over medium heat to simmer as you work.
Place your lids in a saucepan. Fill it with water, and put the pan on low heat. This step allows the adhesive to soften.
Step 4: Remove Pits and Stems
I’m using frozen fruit that’s already been pitted and de-stemmed. (It’s a gift from my summer self!)
If you’re using fresh fruit, you’ll need to prepare it for the recipe.
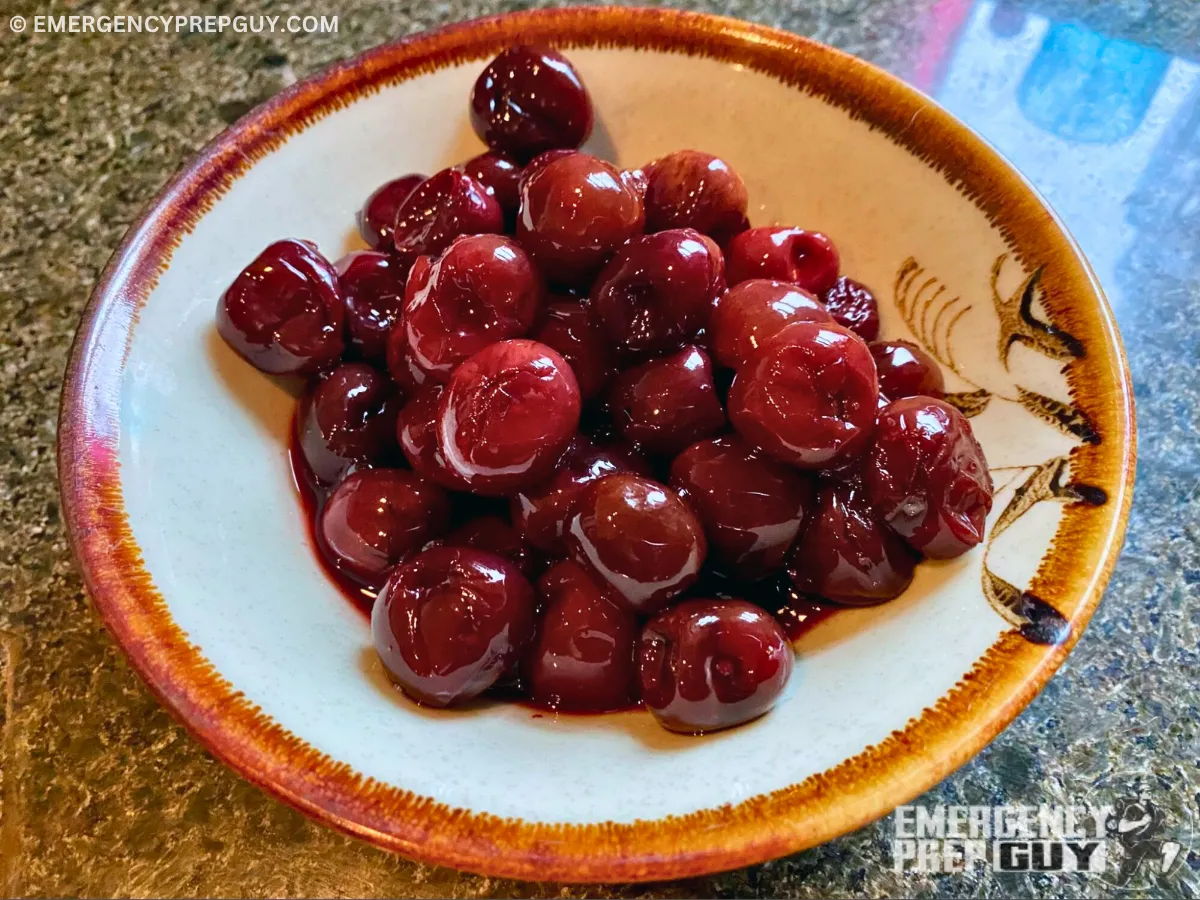
I like to remove the pits from my cherries before I can them. With this method, I can place more fruit inside each jar.
Removing the pits also means the fruit is easier to eat (and a lot less messy) straight from the jar.
I invested in a cherry pitter, and I have never regretted that purchase.
With a specialty tool like this, you can remove pits from cherries with one quick squeeze.
Remove the pits and stems from every cherry, and set them aside for the next step in your recipe.
Step 5: Make Syrup
You can preserve cherries in all sorts of liquids, including boiling water.
I like to use a medium syrup for cherries, as it makes the fruit easier to eat right out of the jar.
To make a full batch of syrup, combine 2¼ cups of sugar and 5¼ cups of water in a stainless steel pan.
Place the pan over moderate heat and stir it constantly.
The liquid should come to a boil, and if you’re stirring it, this liquid won’t scorch or burn.
Step 6: Fill Jars with Cherries
Remove your jars from the canner with a jar lifter. Place the jars on a towel or cutting board (not the cold countertop, which could cause the jars to break).
Your jars should cool very quickly, so you can hold them in your hands in a few minutes.
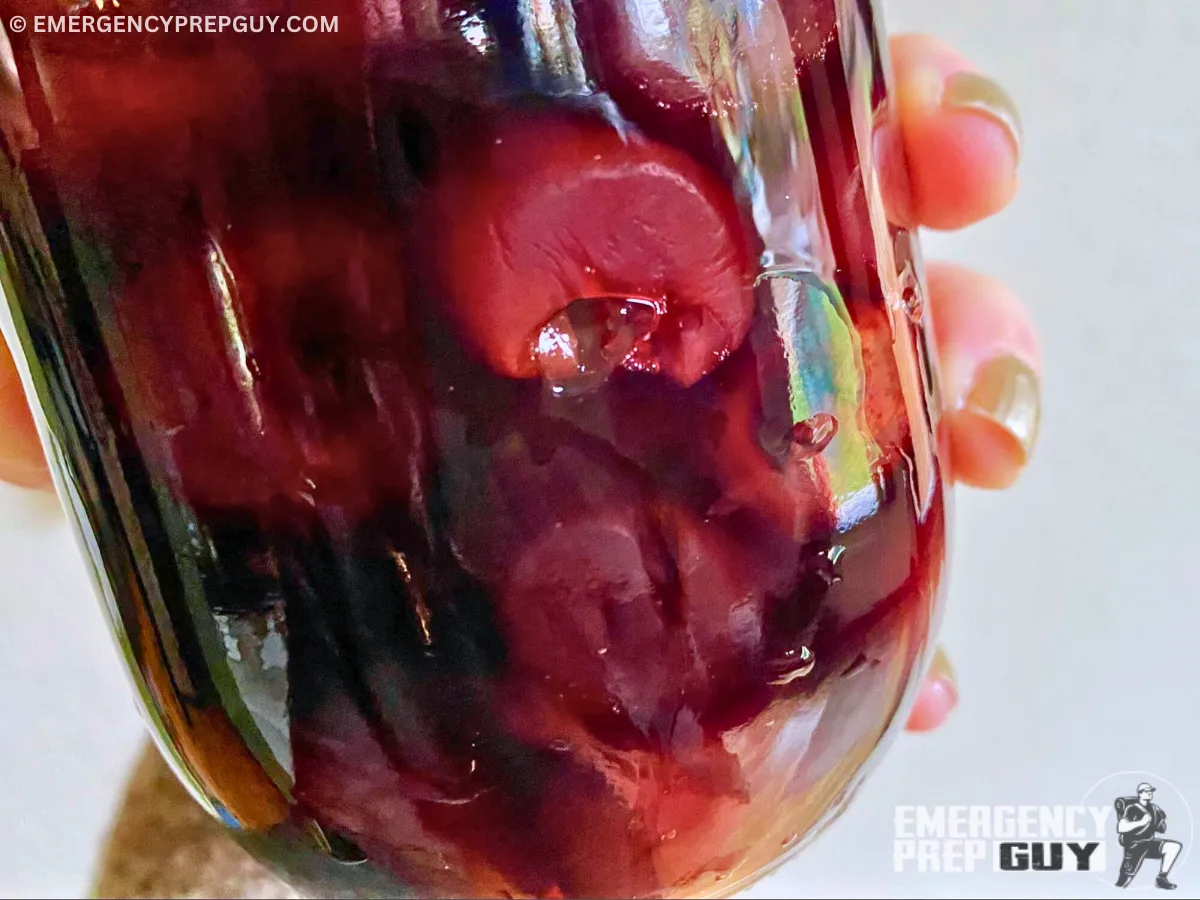
Fill your jars with your prepared cherries.
I pick them up with my fingers to put them in the jars, and I shake the jars to ensure they nestle together inside the jars without a lot of gaps.
Leave ½ inch of space at the top of each jar. The fruit might expand as it cooks, so this space is critical to ensure the lids seal.
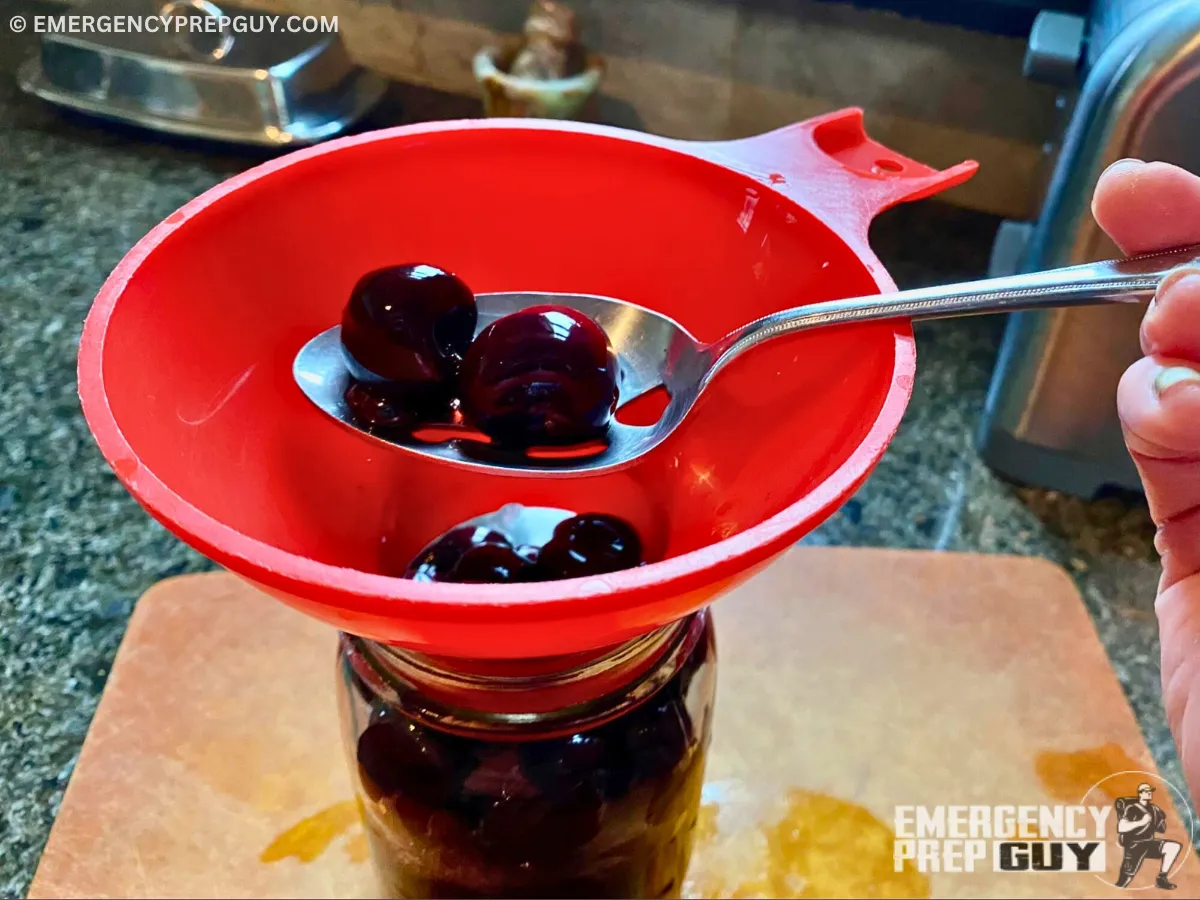
Step 7: Top Cherries with Syrup
With your canning funnel, top the cherries in each jar with the syrup you prepared.
Make sure you leave that ½ inch of space at the top of each jar.
If you fill the jars slowly, the liquid will slide between the fruit very easily. However, you may have a few gaps between the cherries as that traps air.
It’s important to remove those air pockets before you can the product.
I run a knife around the edges of the jars to remove the air bubbles.
Step 8: Apply Lids and Rings
Even though I use a canning funnel, I sometimes drip syrup on the edges of my jars. That debris can keep the lids from sticking to the top of my jars.
To ensure the jars are clean, dampen a paper towel and run it across the top of the jars.
Then, use your lid lifter to remove the lids from the water bath. Secure the lids to the jars with rings. Screw them down finger-tight.
Don’t clamp them hard enough to make the lids buckle.
Step 9: Process Jars

Place your filled jar inside the canner, and ensure the lids are covered with at least an inch of water.
The water should be really hot since you’ve been simmering your jars while you prepare the fruit. However, it must boil to process the jars.
Once the water is boiling, put the lid on the canner. Process your jars for 25 minutes. Adjust for your elevation as needed.
Step 10: Let Contents Stabilize
Once processing is complete, turn off the heat and take the lid off the canner. Leave the jars in place for 5 minutes.
Then, use your jar lifter to remove the jars from the canner. Place them on a cutting board or towel to rest for 24 hours.
This step ensures the contents inside the jars stabilize so the lids seal tightly.
Step 11: Check Seals
After 24 hours, remove the rings from your jars.
Push on the center of the jars and listen for pops and clicks. If the lids make noise, they didn’t seal tightly.
If they slide or shift, they also didn’t seal properly.
When lids don’t seal, you’re not required to throw the product away. However, you should store the cherries in the fridge or freezer instead.
Step 12: Store Jars Properly
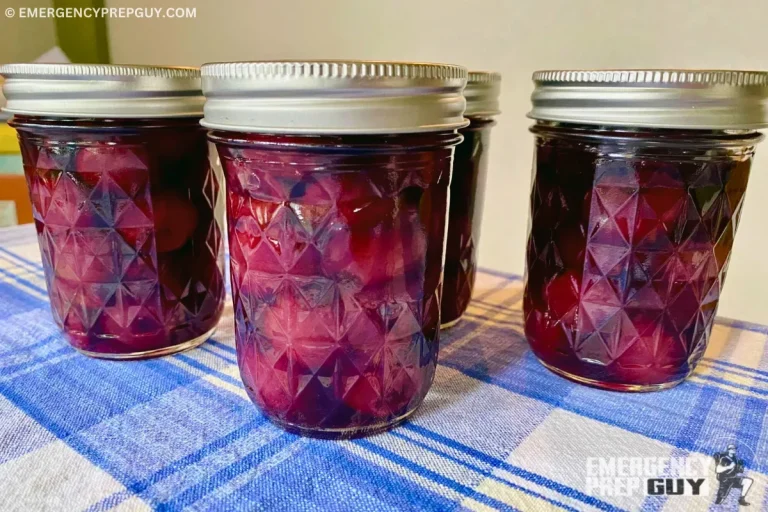
Write the date on the lid of all of your sealed jars. Then, place them in appropriate storage.
That means putting them in a spot that’s both cool and dark.
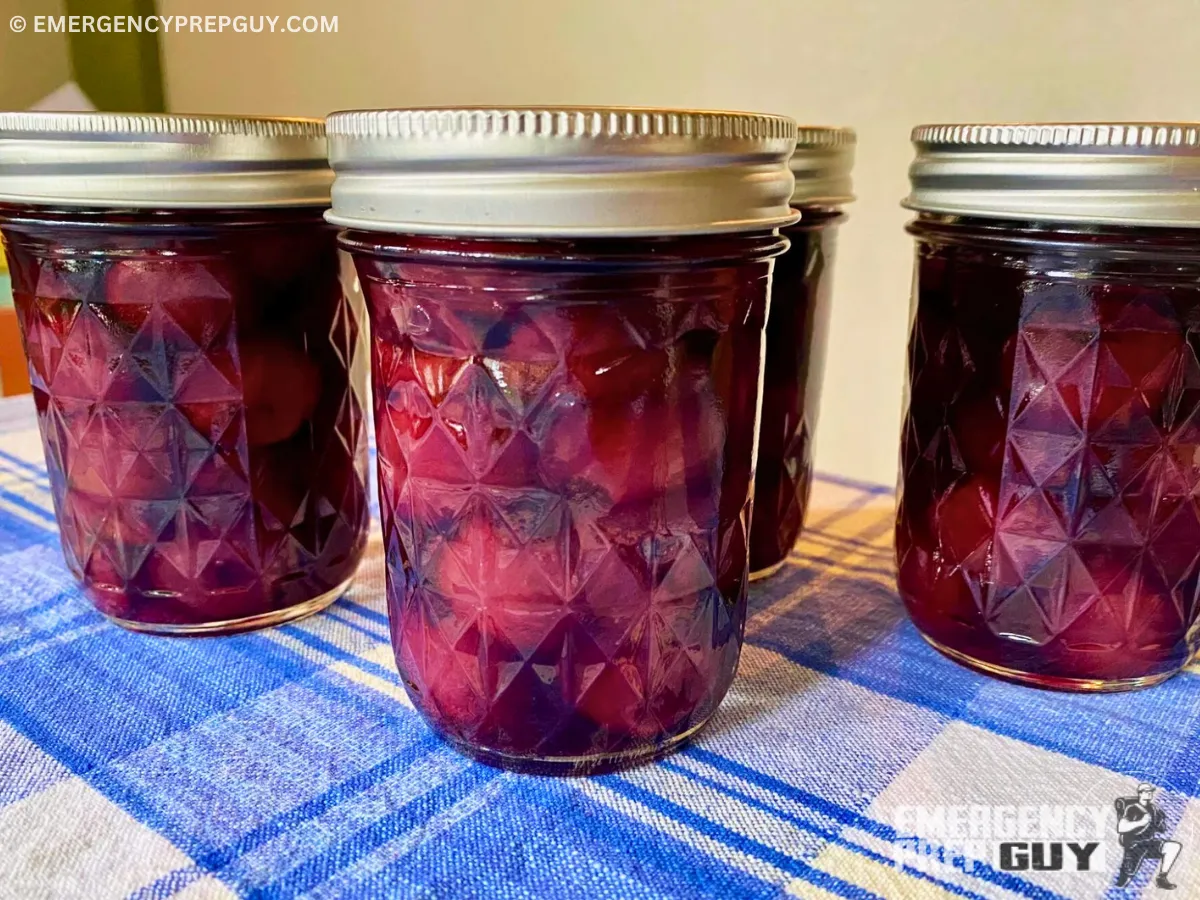
Humid environments can make the lids rust or fail. Sunlight can discolor the contents, too.
I store my canned items in the basement. A root cellar might work, too.
How Long Do Canned Cherries Last?
The USDA says foods preserved in a water canner should be eaten within about a year.
Meeting this deadline isn’t easy if you put up a bunch of cherries at the peak of the summer’s harvest.
I like to can a half-batch of cherries in the summertime. I put another batch worth of cherries in the freezer, and I can them in the middle of the winter.
With this method, I always have cherries on hand for snacking, but I don’t have so many that they might expire before I can eat them.
Ideas for Using Canned Cherries

Whole cherries are really tasty, and there are all kinds of ways to eat them. These are a few of my favorites:
- Top chocolate or vanilla ice cream with canned cherries.
- Add cherries and the syrup to smoothies of milkshakes.
- Top cheesecake with a layer of canned cherries and syrup.
- Add cherries to drinks like lemonade or soda.
- Roast duck breast on a layer of canned cherries.
- Saute tofu on a bed of cherries.
- Smash cherries on toast in place of jam or jelly.
- Add cherries to muffin mixes.
- Decorate cake or cupcakes with cherries.
- Add cherries to gelatin salads.
Equipment
Ingredients
- 11 pounds whole cherries
- 5½ cups water
- 2¼ cups sugar
Instructions
Choose Your Cherries
- Select deep red cherries like Bing, Queen Anne, or Sweetheart for their sweetness and suitability for desserts. Avoid sour varieties such as Morello or Amarena.
Wash Your Cherries
- Using the raw-pack method, rinse fresh or frozen cherries thoroughly in a colander under warm water to remove dirt and debris.
Prepare Jars and Lids
- Inspect and wash nine pint jars in hot, soapy water. Sterilize jars by placing them in the canner filled with water and heating over medium heat. Warm lids in a small saucepan with water on low heat to soften the adhesive.
Remove Pits and Stems
- Pit and destem the cherries using a cherry pitter or a sharp knife. Removing pits allows more fruit per jar and makes cherries easier to eat.
Make Syrup
- Combine 2¼ cups sugar and 5¼ cups water in a stainless steel saucepan. Bring to a boil over medium heat, stirring constantly to prevent scorching.
Fill Jars with Cherries
- Using a jar lifter, remove sterilized jars from the canner and place them on a towel or cutting board. Fill each jar with pitted cherries, shaking gently to nestle them tightly without large gaps. Leave ½ inch of headspace.
Top Cherries with Syrup
- Using a canning funnel, pour the hot syrup over the cherries in each jar, maintaining the ½ inch headspace. Remove any air bubbles by running a knife around the jar edges.
Apply Lids and Rings
- Wipe jar rims with a damp paper towel to ensure a clean seal. Place warmed lids on jars and screw on rings until finger-tight.
Process Jars
- Place filled jars back into the water bath canner, ensuring they are covered by at least 1 inch of water. Bring to a boil and process for 25 minutes (adjust time for elevation if necessary).
Let Contents Stabilize
- After processing, turn off the heat and let jars sit in the canner for 5 minutes. Remove jars using a jar lifter and place them upright on a cooling surface to rest undisturbed for 24 hours.
Check Seals
- After 24 hours, press the center of each lid. If it doesn’t pop back, the jar is sealed. Label sealed jars with the date and store in a cool, dark place. Unsealed jars should be refrigerated or frozen and consumed within a few days.
Store Jars Properly
- Store sealed jars in a cool, dark place like a basement or root cellar. Avoid humid environments and direct sunlight to maintain quality and prevent lid rusting.
Notes
- Frozen Fruit: If using frozen cherries, allow 24hrs to defrost in fridge
- Fruit Selection: Use only deep red, sweet cherry varieties for best results and safety.
- Pitting Cherries: Removing pits increases the number of cherries per jar and makes them easier to use in desserts.
- Jar Preparation: Always sterilize jars and warm lids to ensure a proper seal during canning.
- Storage: Properly canned cherries can be stored for up to a year. Always inspect seals and contents before use.